The wait is finally over! The first short wheelbase recumbent with a fully integrated electric assist system is now available through your authorized Bacchetta dealer or shipped fully assembled to your door! Ride the most comfortable electric assist bike on the market - the Bacchetta Pronto!
Becoming a Pronto recumbent
Now that bikes are available, I thought I would share with you the long, painstaking process that goes into creating each one of these amazing recumbents.
First, the Giro A20 recumbent frames are hand-built for us in Taiwan using 7005 series aluminum by craftspeople that have been building our bikes for two decades. Each frame is made using our custom tube extrusion.
Once we receive them, raw frames are then sent to TerraCycle to weld the motor mounts onto the frame. But don't think this is easy - there is a long list of alterations they do to make a Giro A20 into a Pronto. Here is what they have to say:
Making Gussets
We use 7005 aluminum in a multi-axis CNC lathe with live tooling to manufacture the gussets. 7000 series aluminum is exceptionally strong, matches the alloy the frame is made from, and does not require heat treatment. The specialized shape of the gussets took time to develop, and they match the shape of the frame tubing and cradle exceptionally well.
Chopping/Mitering
First, we use a bandsaw to cut off the front of the frame. Then, we set the frame onto custom jigging and use a CNC mill to miter the end to a profile that matches the exterior of the cradle. When it leaves the machine, we quickly deburr the cuts.
Modifying the Cradle
We do two different operations in the CNC mill. First, we drill and tap holes onto the top of the cradle (for mounting lights, etc.), and then mill a slot into the mating face of the cradle (through which cabling can be run).
Drilling Holes into the Frame
Drilling the hole in the rear of the frame is pretty straightforward: we measure an inch up from the bottom of the plate on the end of the tube, and drill a hole centered with the frame. Next, we locate the center top of the frame and measure out two inches in front of the head tube using calipers and a square. Finally, we drill the hole in the head tube using a jig we machined to fit into the frame, along with two job-specific tools: a modified annular cutter with a custom long arbor, and an 18in long 0.5in drill (literally called a "Longboy Drill"). As you can imagine, cleaning up the first two holes isn't hard, but the last takes a bit of work.
Removing Cable Stops
We start by cutting through the welds with a cutoff wheel on a rotary tool. We then peel the stops off with locking pliers. Then we file down the remainder of the weld. Finally, we blend it all in using sandpaper, Scotch Brite, and elbow grease.
Welding the Cradle and Gussets to the Frame
We load the mitered frame and modified cradle into a purpose-built welding fixture. We first clean the areas that are to be welded, and make markings to locate the gussets. Then welding is done underneath where the gussets will be placed, for extra strength. Next, the gussets are tacked and then welded into place. Finally, the rest of the cradle is welded to the frame, and the work is cleaned up by hand.
High Fives
We take the palms of our hands and extend them into the air, smacking them against one another's palms in an excited fashion.


This process is neither cheap nor easy. We could probably have it done in Taiwan for much less. But we really like to support TerraCycle and the phenomenal work they do.
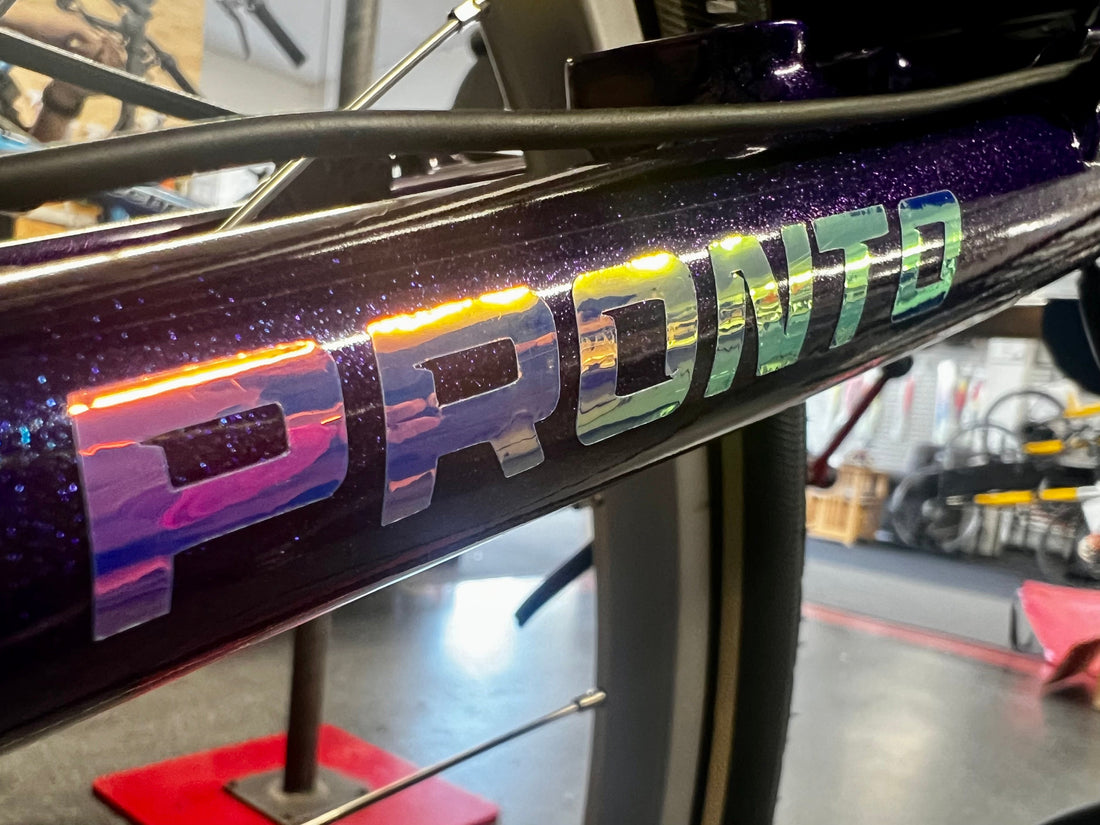
Once the frames are finished, we send them out to our local powder coater, Reliable Powder Coating in Downey. These craftsmen and women were recommended to us by our mechanic, Ramiro, as he worked with them in the past and they have been powder coating bicycle frames for over 25 years. Their skills are evident in each frame they paint.

They start by etching the frame to assure good adhesion. The frames are then washed in a chemical wash to remove all impurities. Powder is applied in two coats to get the deep, lustrous finish you see in the final product.


When they return to us, we begin the best part - turning a frame and a box of parts into your favorite recumbent! Rather than having assembly done in Taiwan, we prefer to do it here where we can (a) make sure that everything is greased, torqued and assembled properly, and (b) support our local labor resources. It will take us 5-6 hours to assemble each bike, custom built to your requested specifications.